Apache Pulsar Installation on IBM Kubernetes Cluster through Helm chart
This tutorial uses Apache Pulsar 2.9.3 as an example. If you want to upgrade Pulsar version, follow the instructions in Helm Upgrade Guide.
Deploying a Pulsar cluster on IBM cloud consists of the following steps:
- Create VM on IBM Cloud.
- Create Kubernete cluster on IBM Cloud.
- Prepare VM for connecting to Kubernetes cluster and deploy Pulsar Helm chart on Kubernetes cluster.
- Verify the deployment.
1. Create VM on IBM Cloud
- Go to IBM Cloud and login with your credentials.
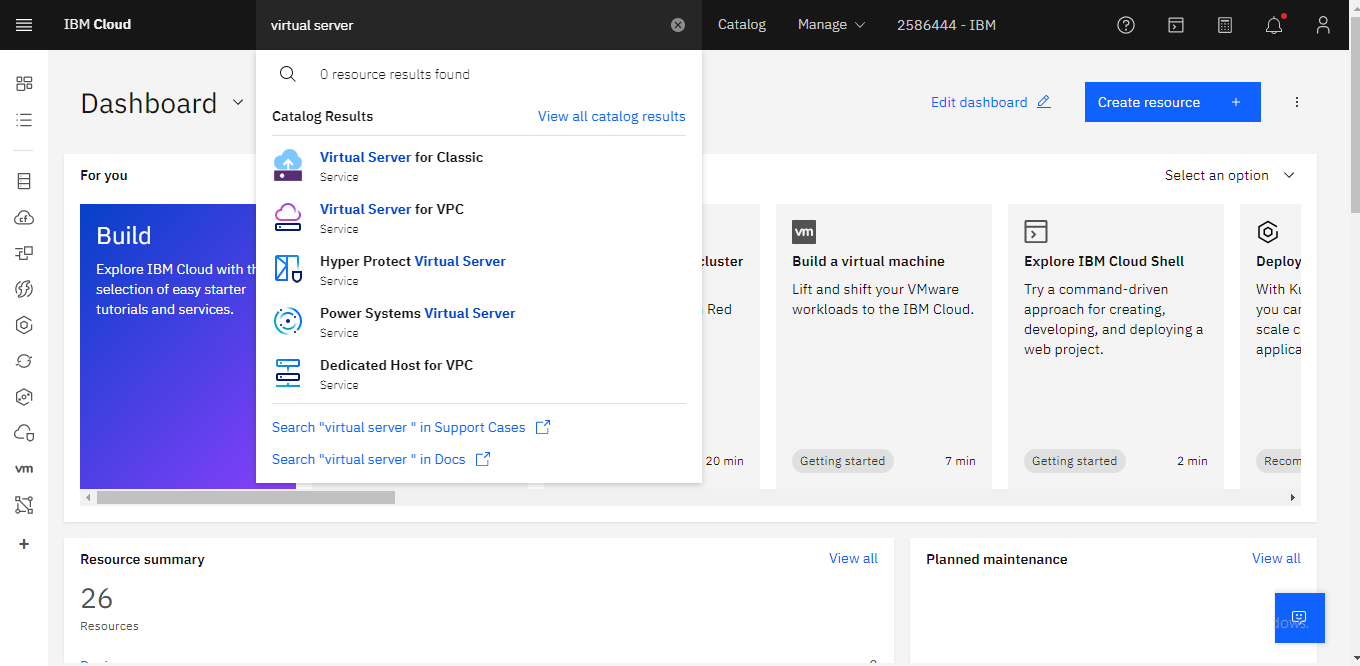
- Search for Virtual Server.
- Select Virtual Server for Classic.
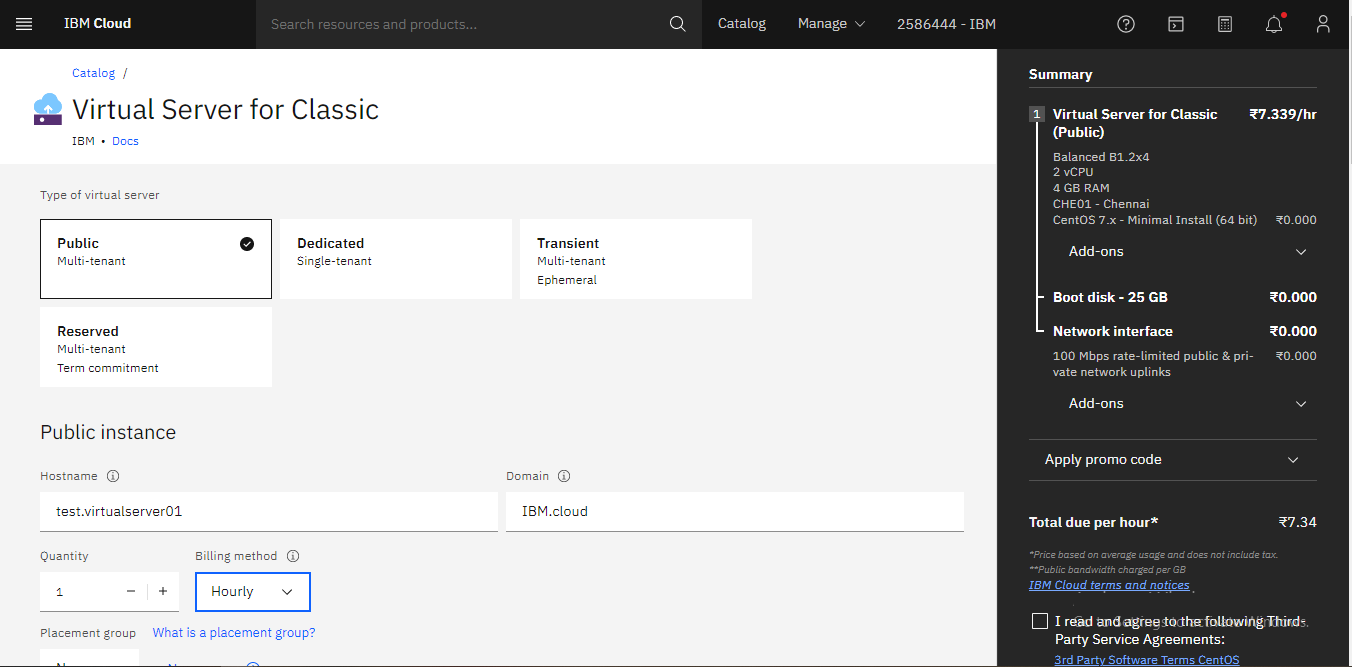
- Select the type of virtual server as selected "Public" in the image. Type the host name, quantity of the machine and billing method.
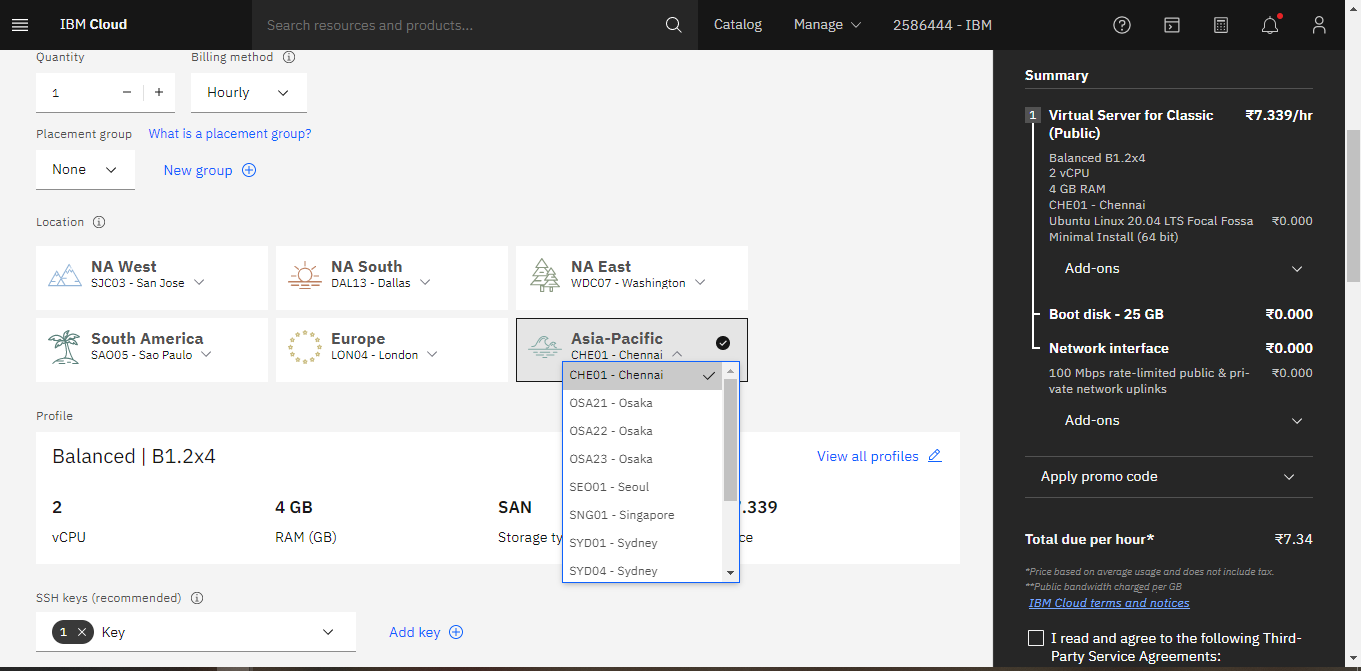
- Select location value according to your region. For example: In below image we have selected Chennai in Asia region.
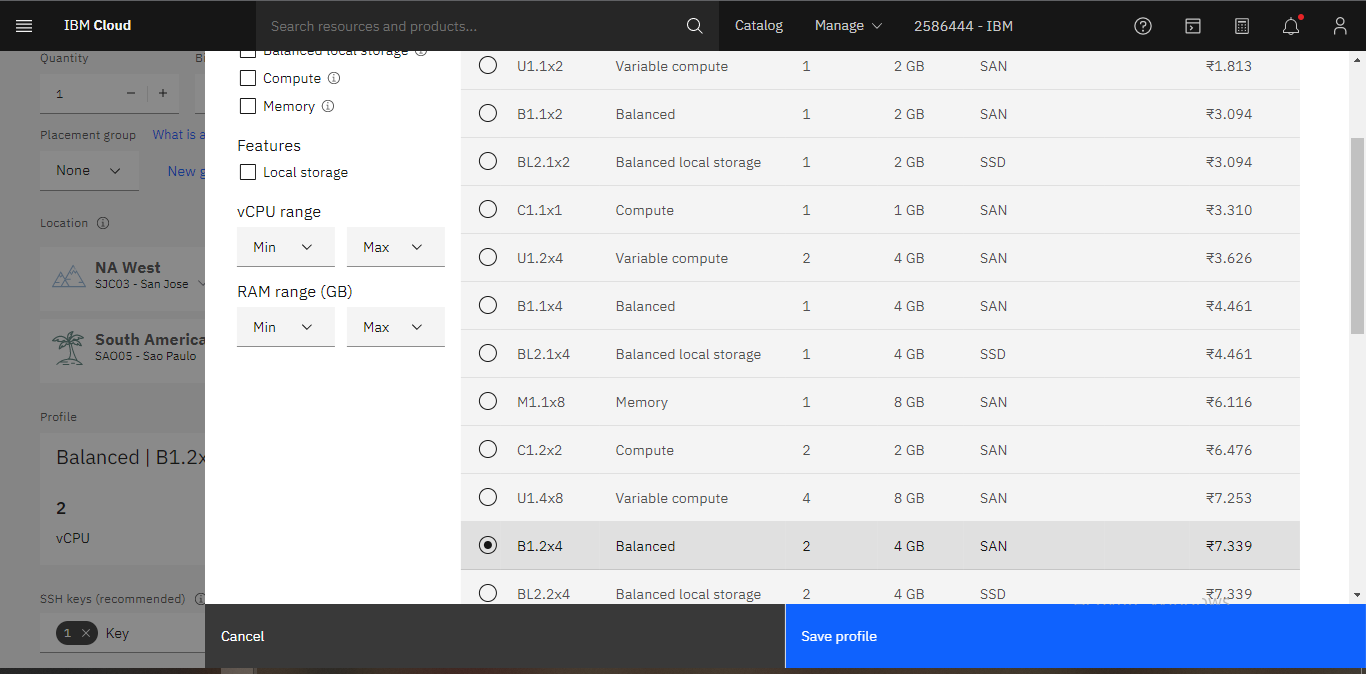
- Select the profile of virtual machine.
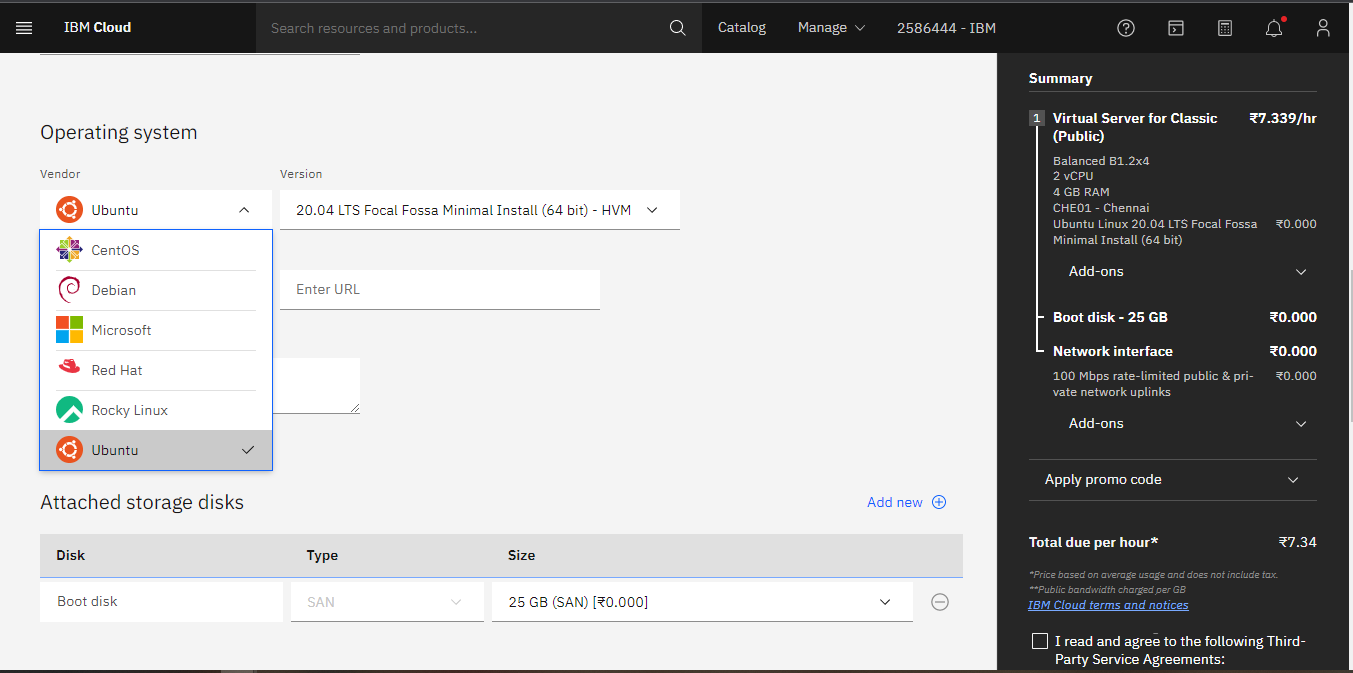
- Select the operating system and version.
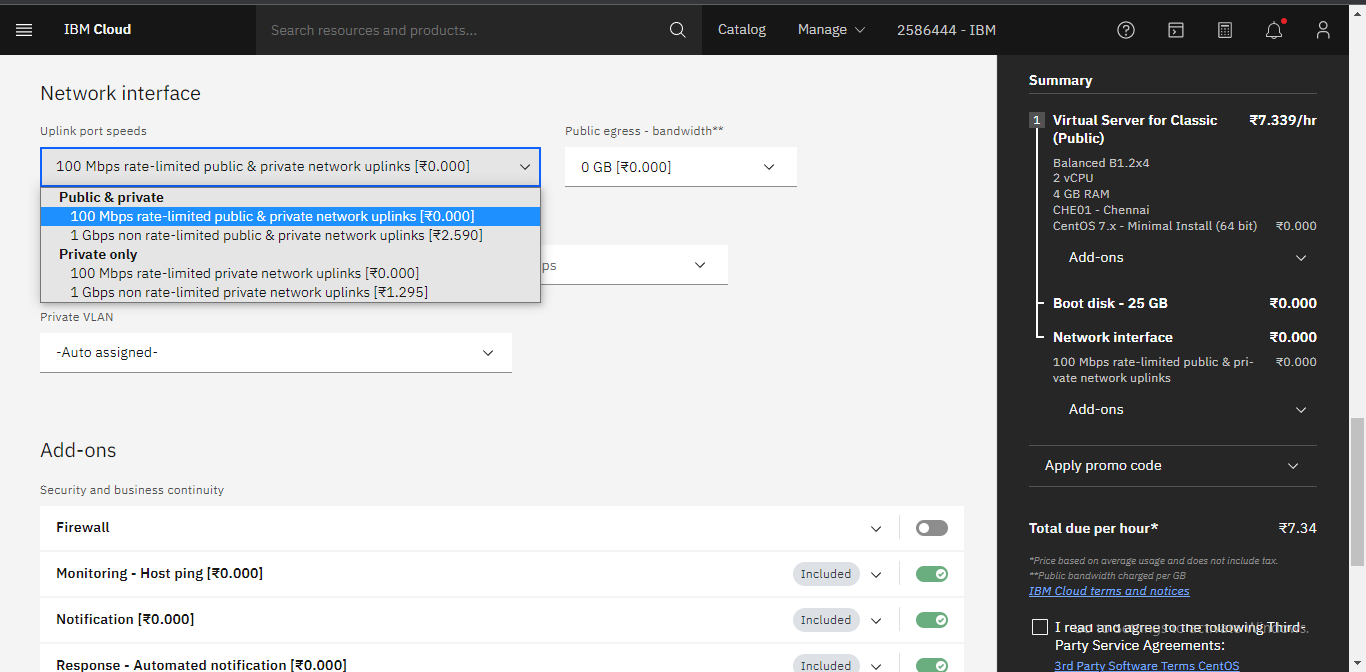
- Select network interface according to use.
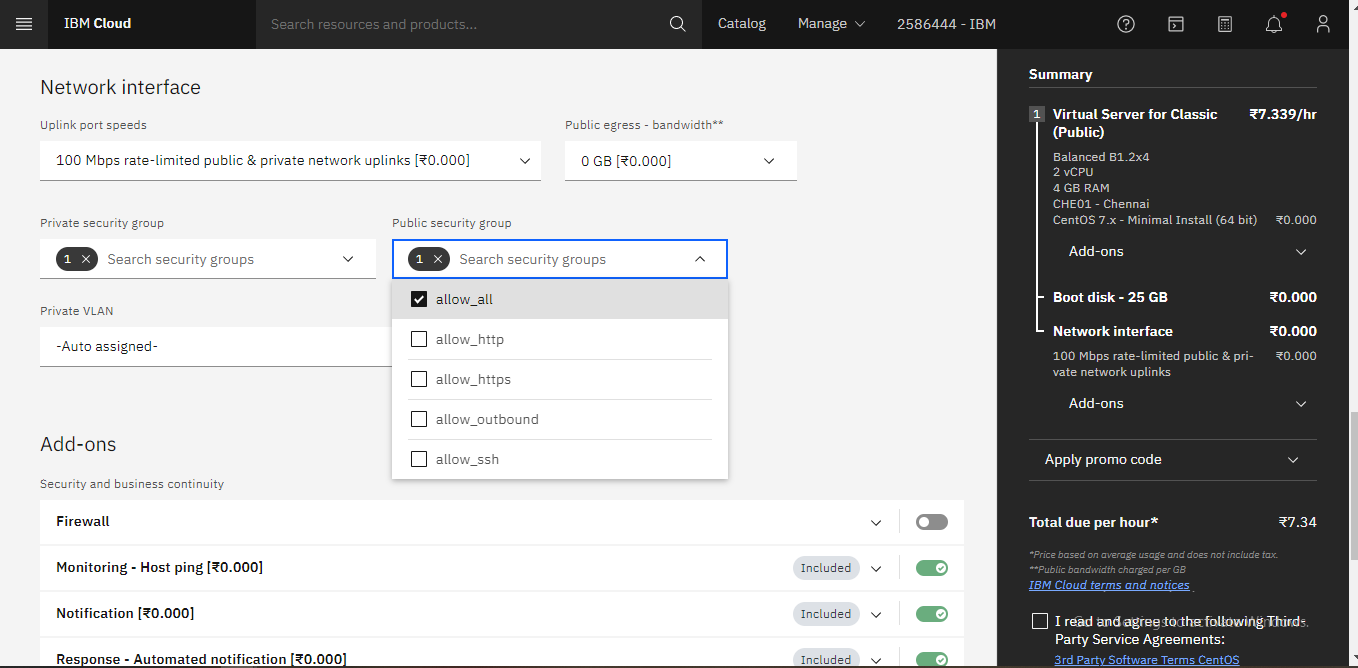
- Select the security group.
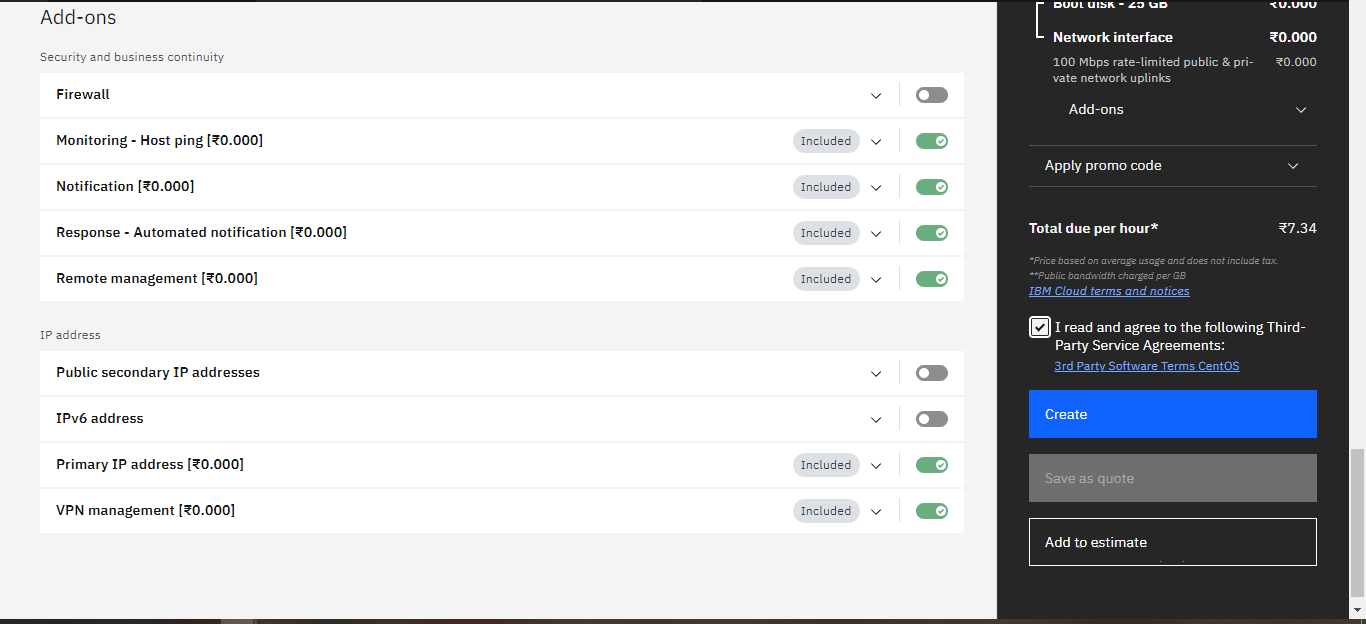
- Leave rest of the things could be default. Click on the "Create" button.
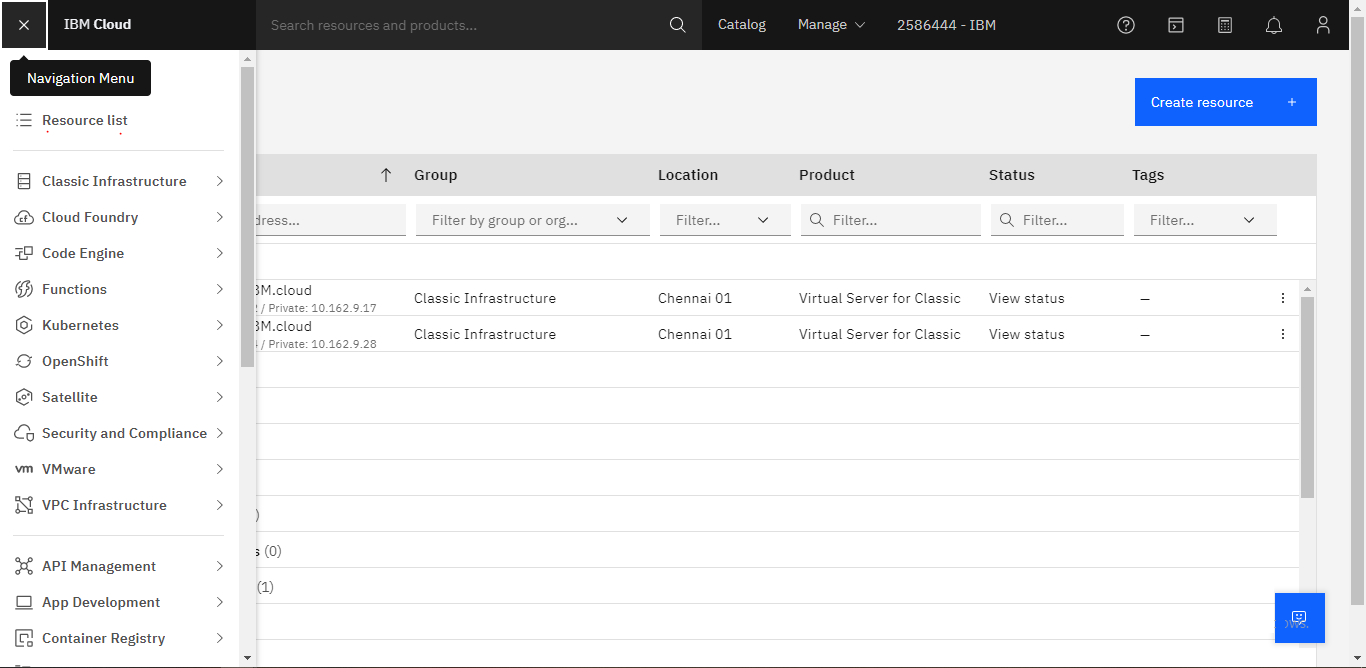
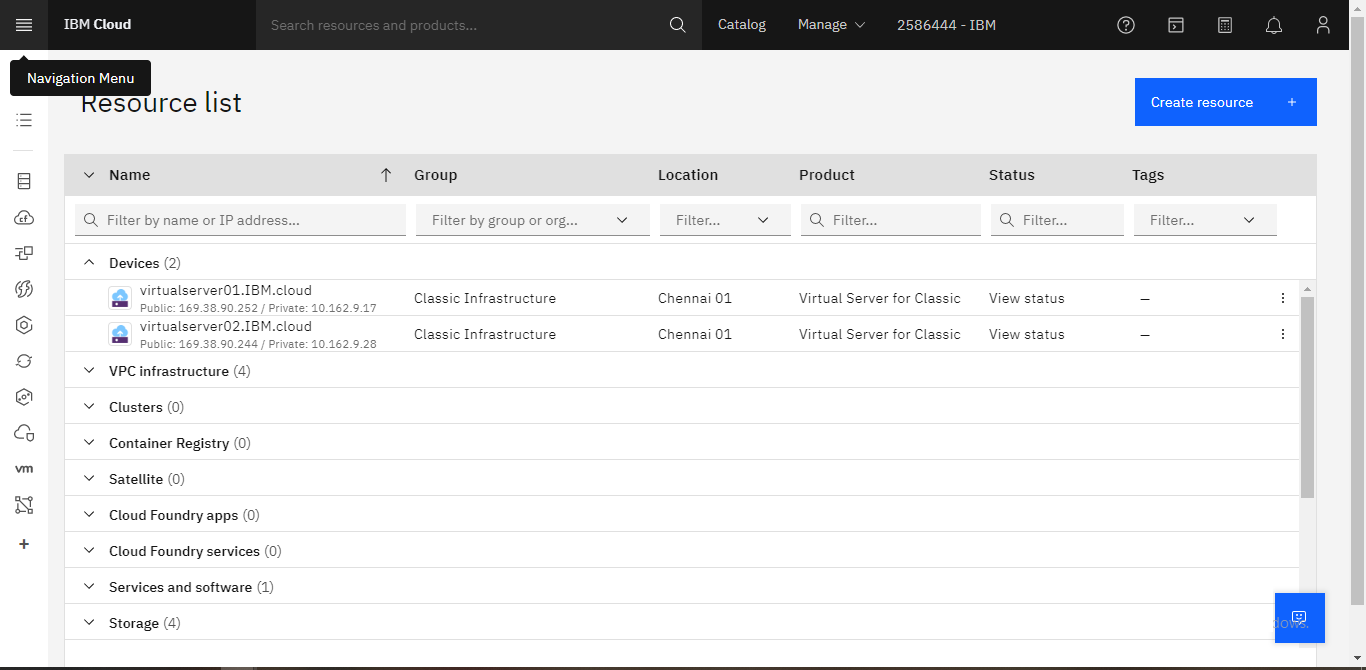
- Check created VM in "Navigation Menu" -> "Resource list" Devices
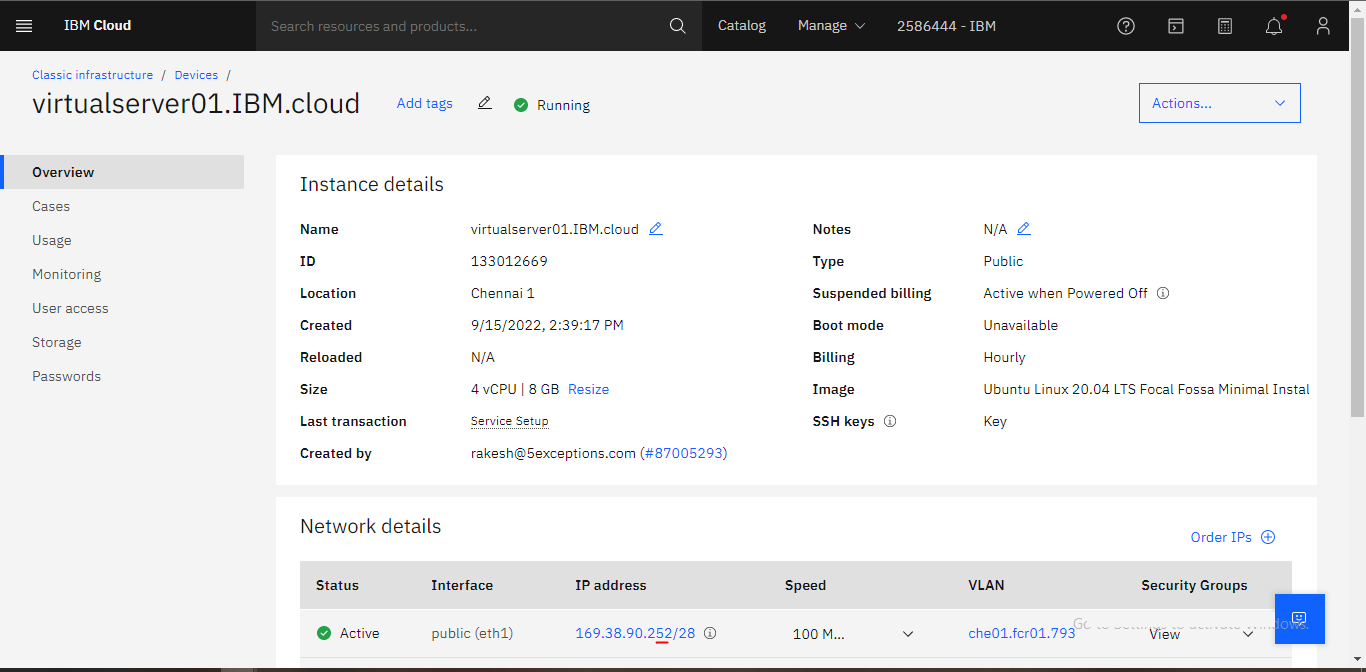
- Check the detail of VM in overview
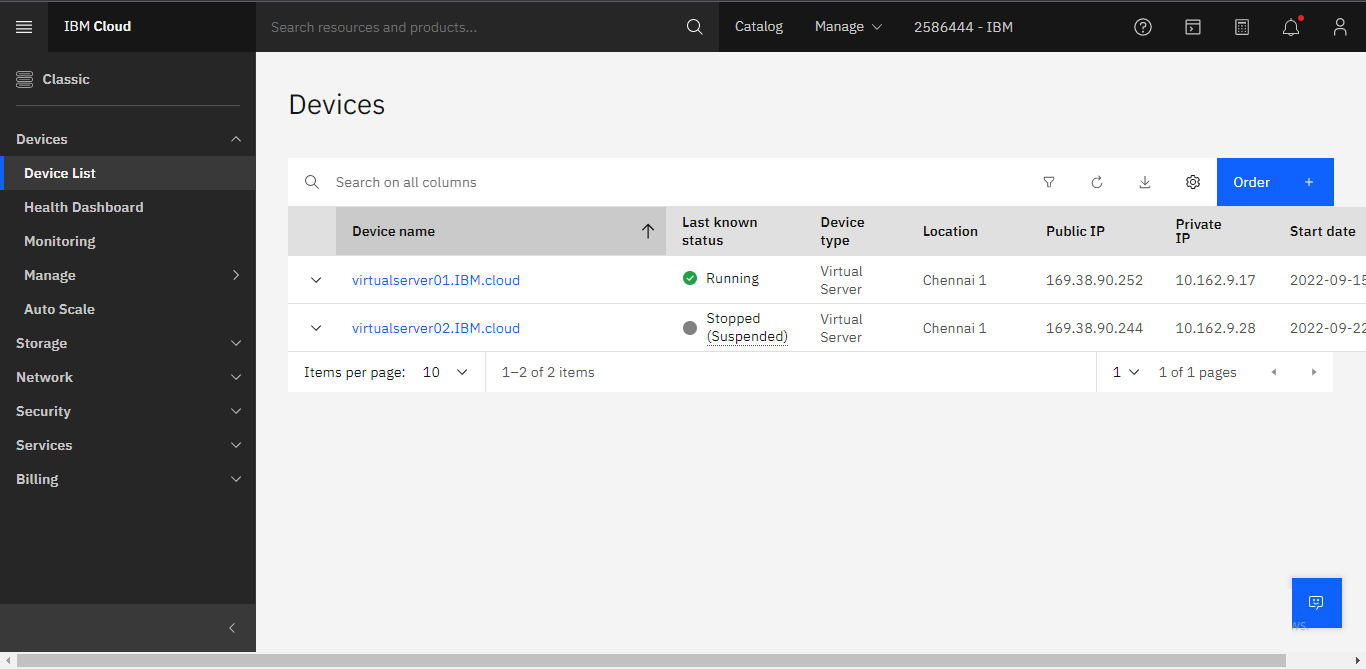
- Check the devices list, and click on the menu option on the same page.
2. Create Kubernetes Cluster on IBM
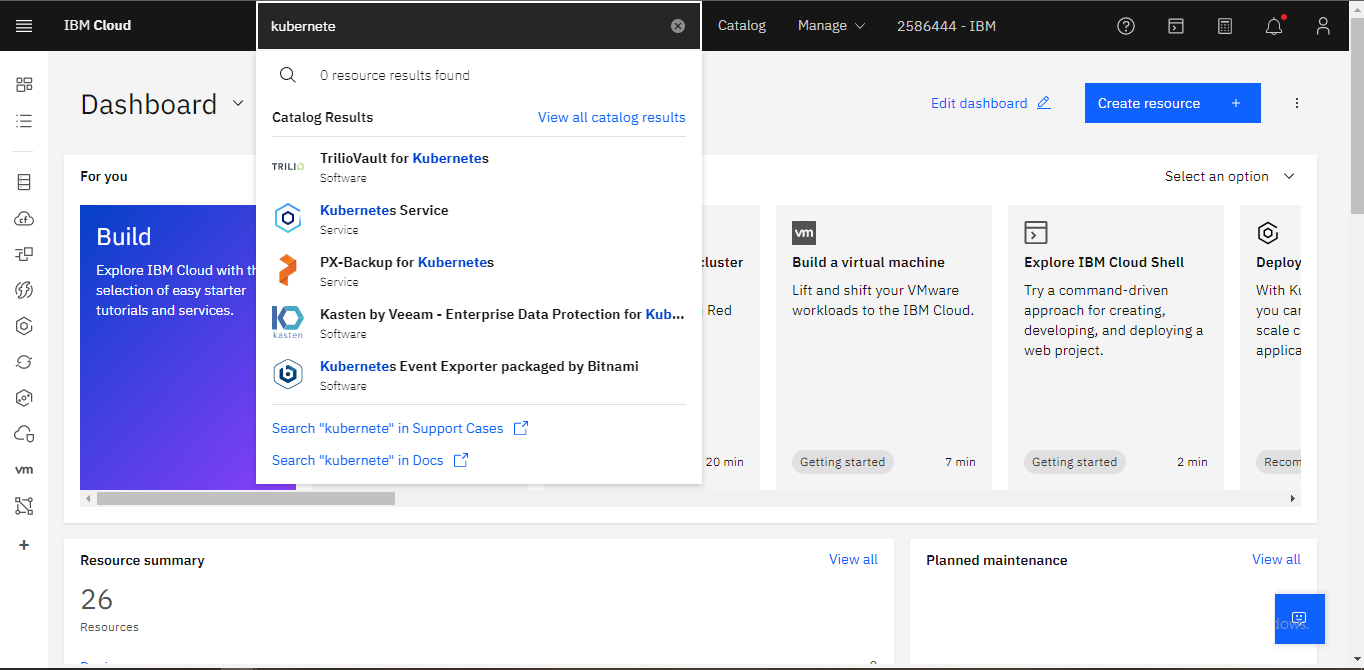
- Search for the Kubernetes services
- Select the plan details to "Standard". Please note "Free" plan has the limited resources, which can not fulfill the Pulsar cluster requirement.

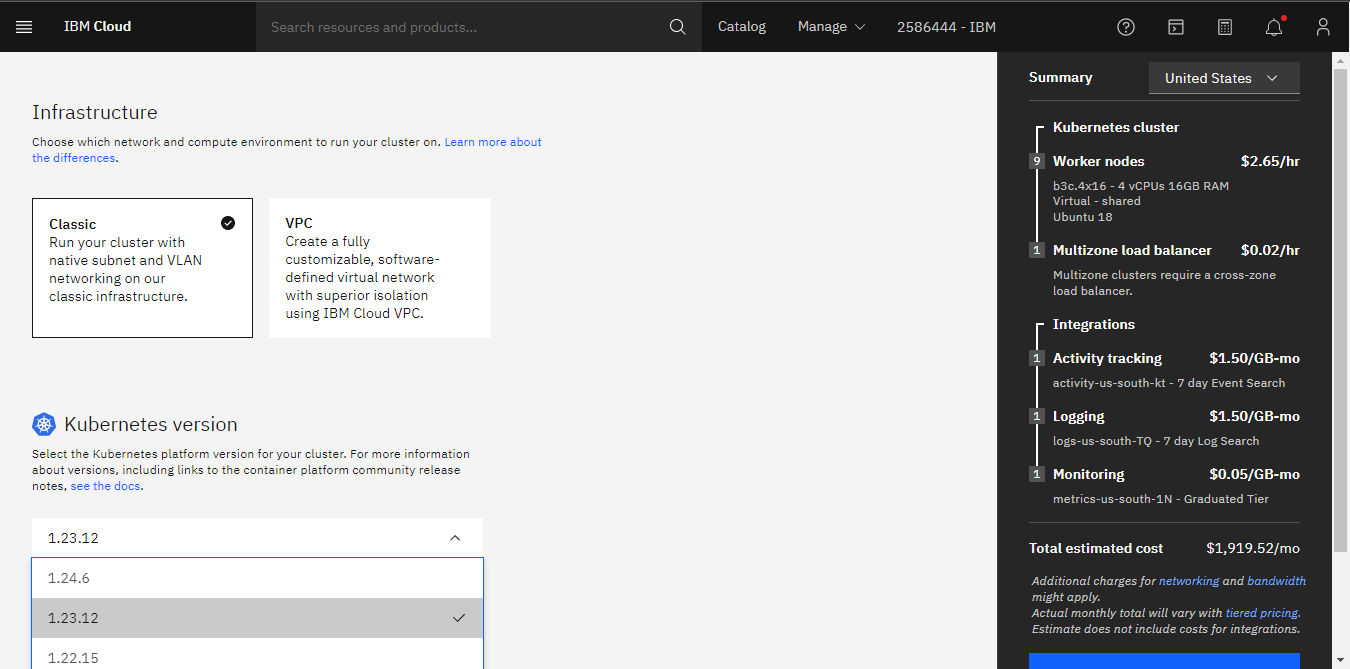
- Select the infrastructure type we are going with the classic and also select the Kubernetes version .
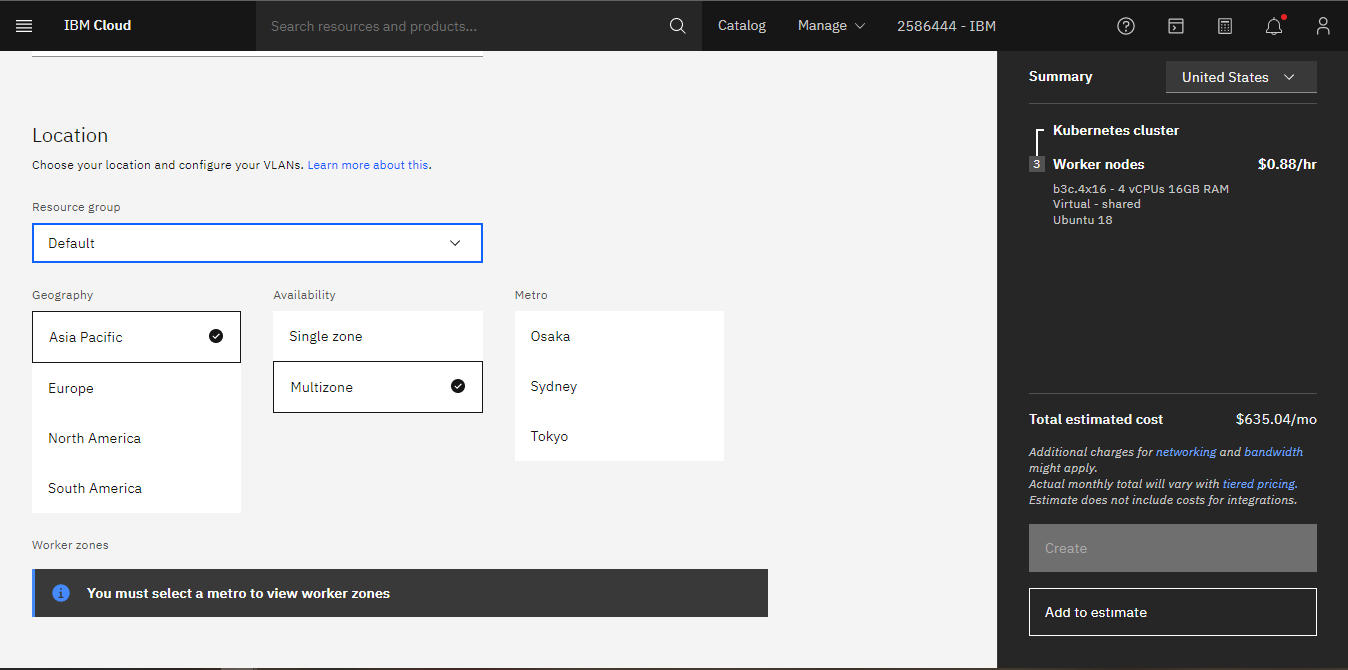
- Select location and resource group. Select single single zone or multi zone as per your need.
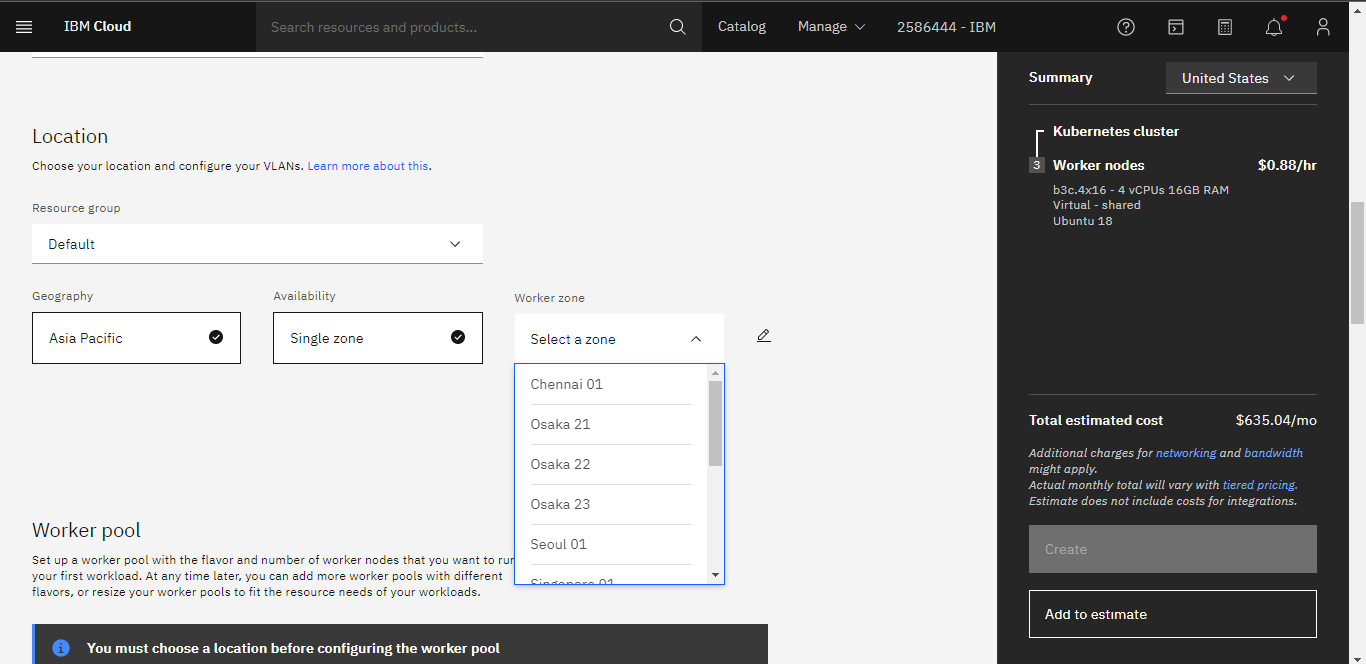
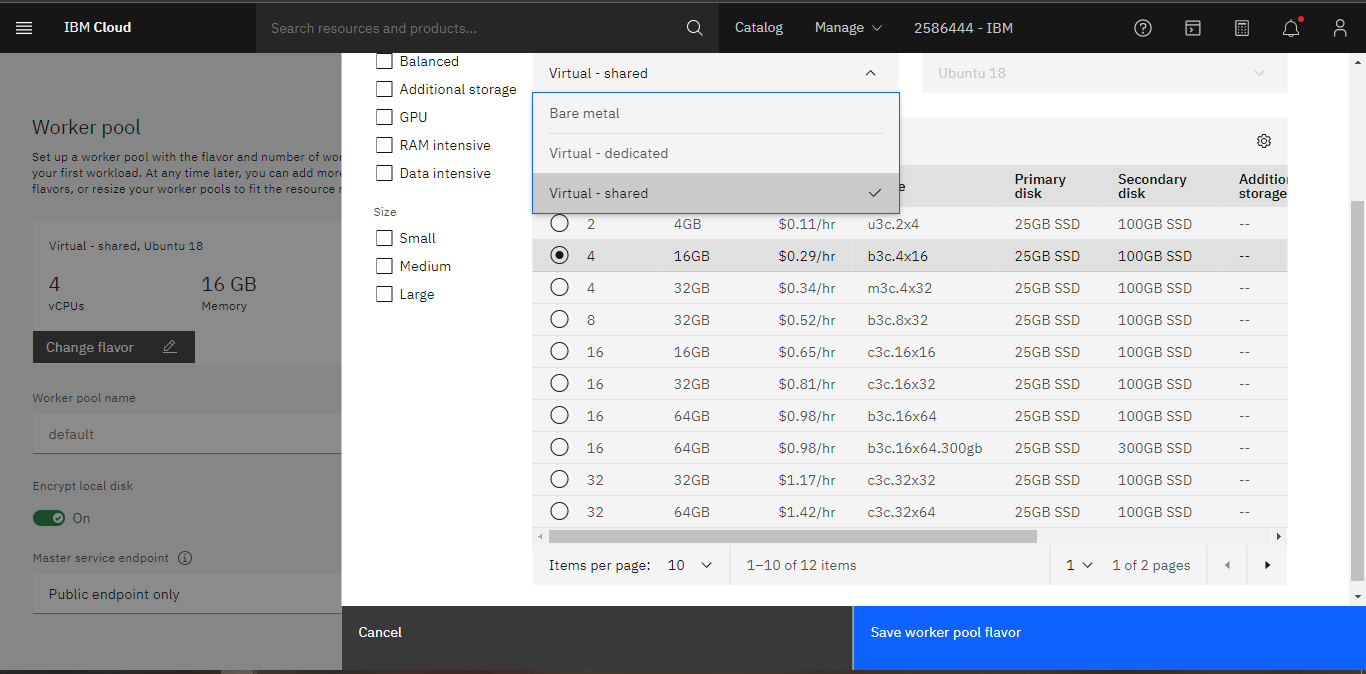
- Select worker pool size and flavor (vCPU, Memory) of the worker.
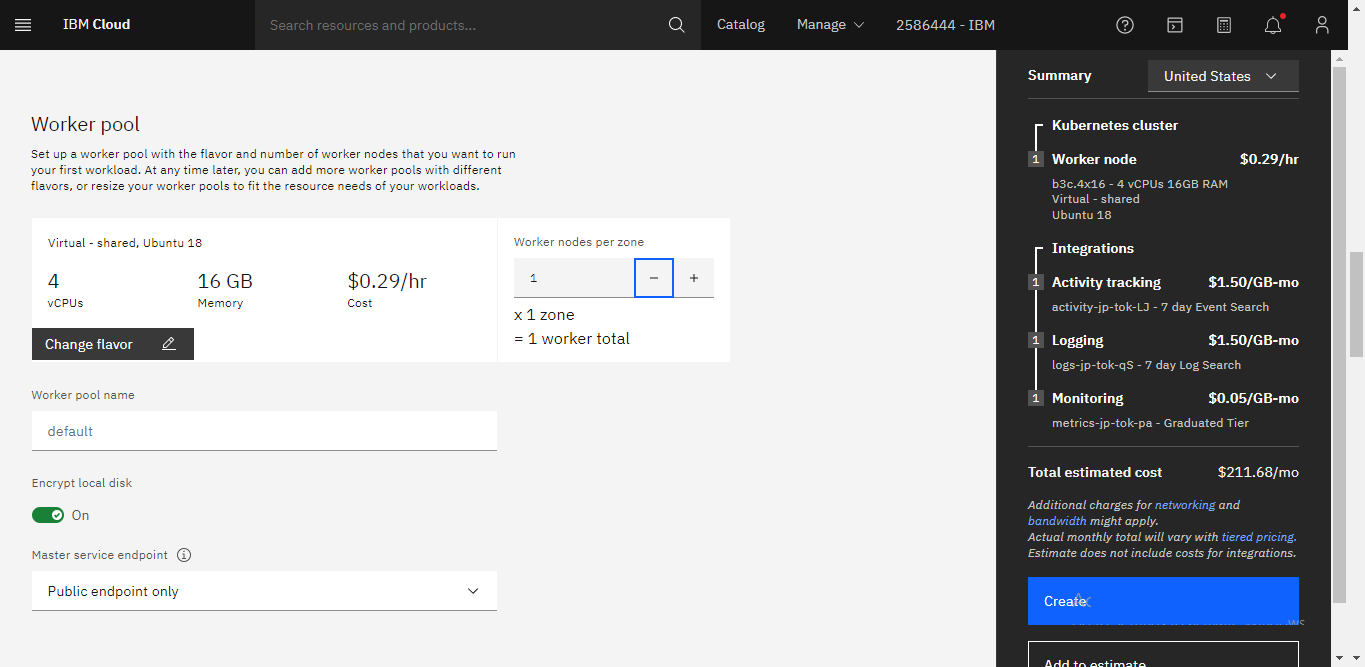
- Set cluster name as you want.
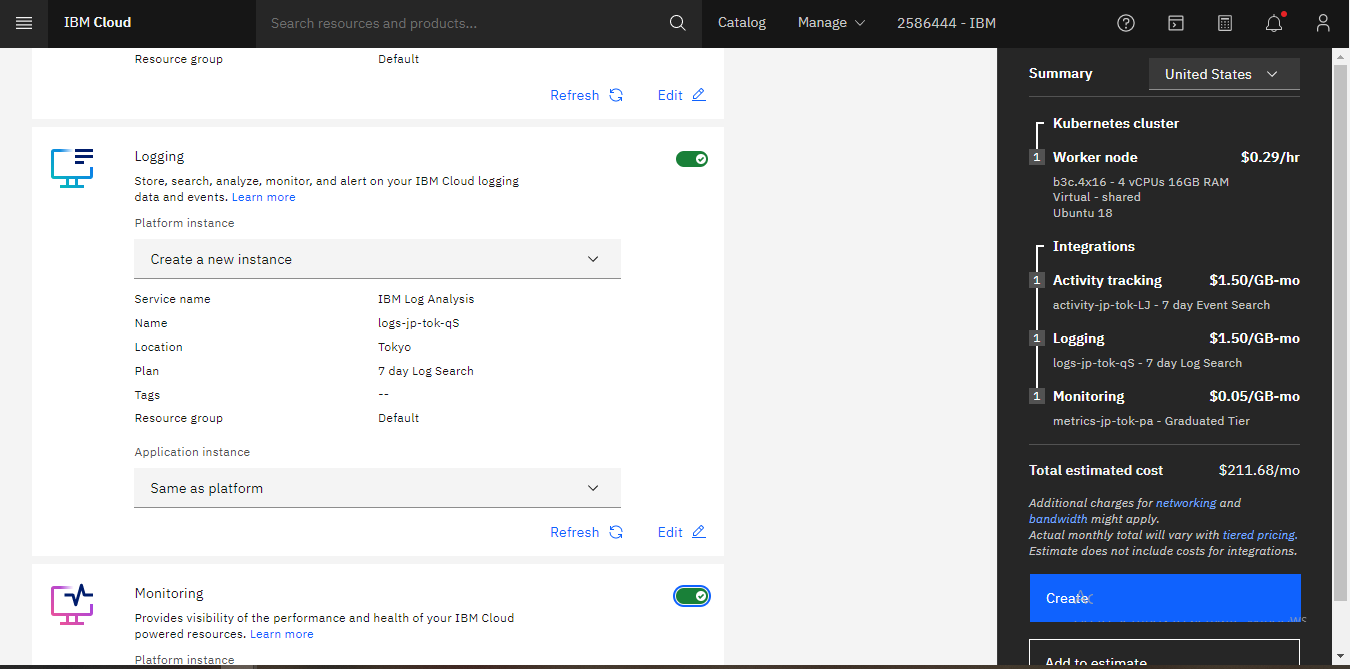
 7. Leave rest of the things as we are selecting as default. You can disable below options. Click on create and wait for provisioning of the cluster.
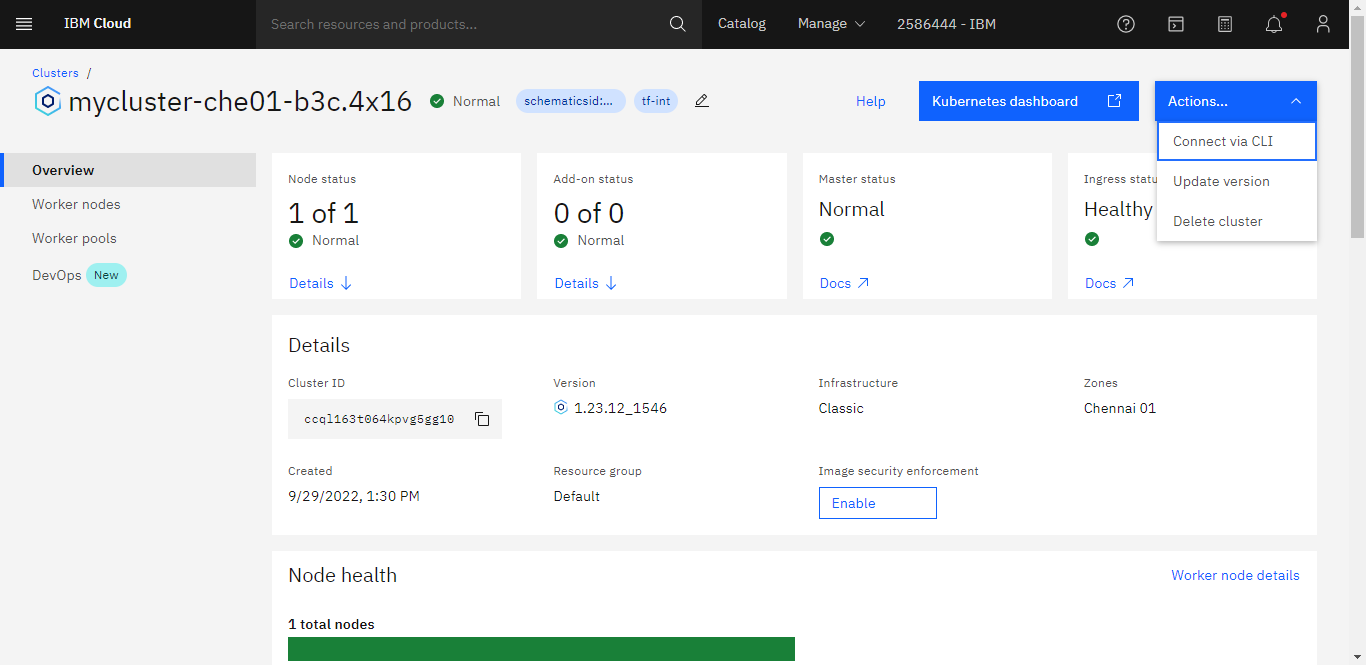
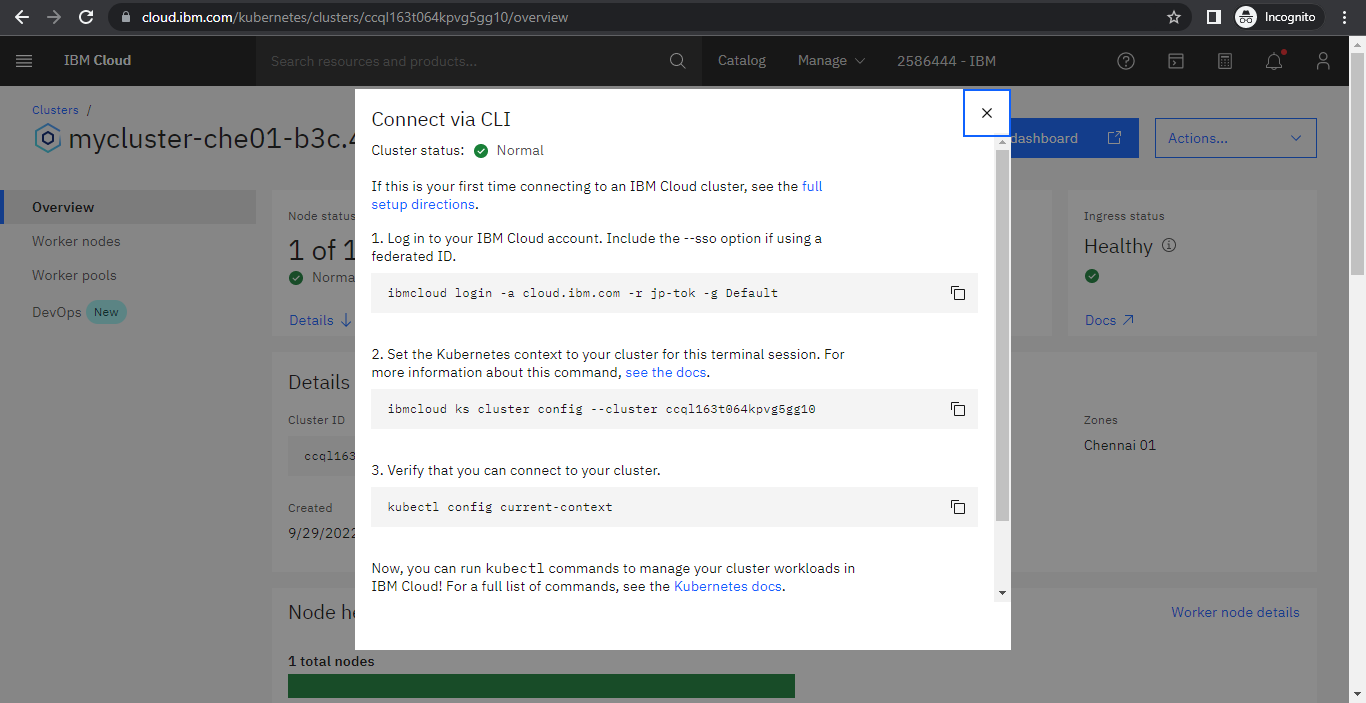
- After the cluster is successfully provisioned, connect to the cluster. In order to connect click on the "Action" button then click on "Connect via CLI", it will give you commands, copy that and run in your VM so that we can communicate to cluster through VM. We have to configure VM for communicating to cluster in the next steps will describe how to configure VM for that.
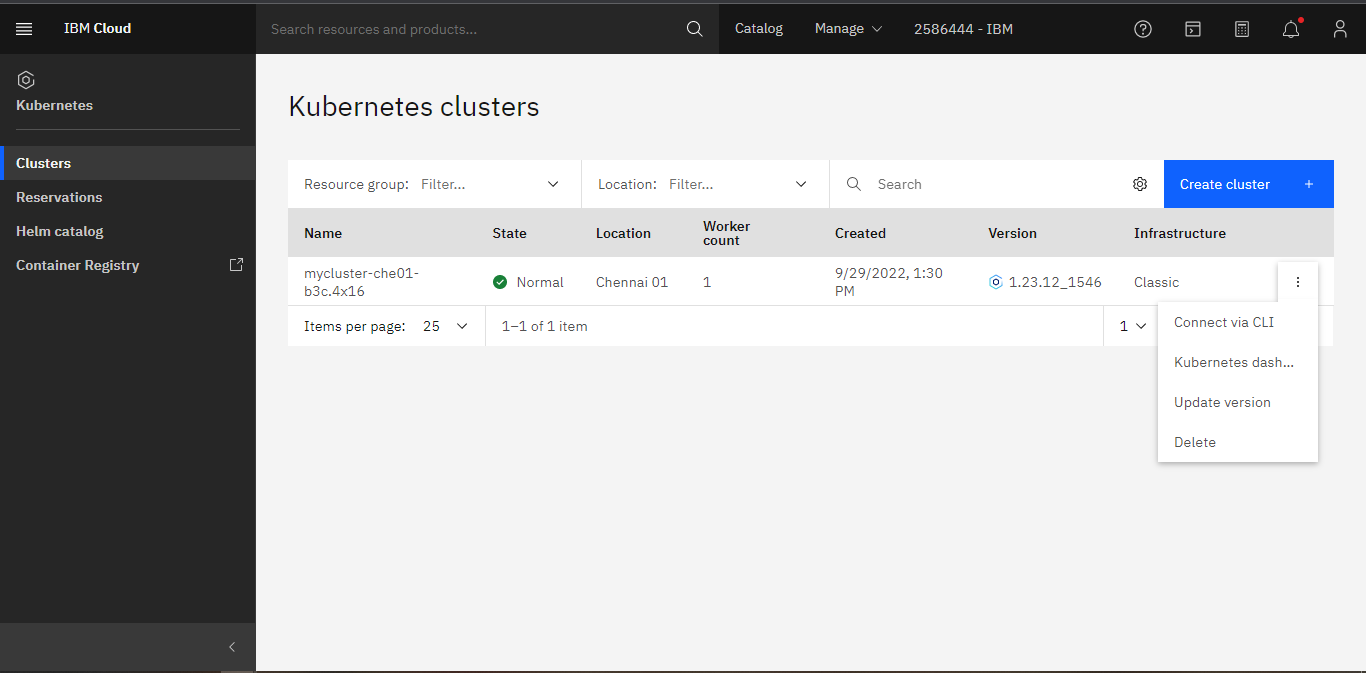
- Check the created cluster list by clicking on the clusters options.
- It will show you the list of all the created clusters.
3. Prepare VM for connecting to Kubernetes cluster and deploy Pulsar Helm chart on Kubernetes cluster.
Prerequisites
-
Install IBM Cloud CLI and connect to Kubernetes master node.
-
Install IBM Cloud CLI Plugins to connect to IKS (IBM Kubernetes services). This is a required step.
-
Install kubectl 1.23 or later versions.
-
Install Helm.
Please install all the above things before running the below commands
- First take SSH of your VM with your private key. Run all the below commands one by one.
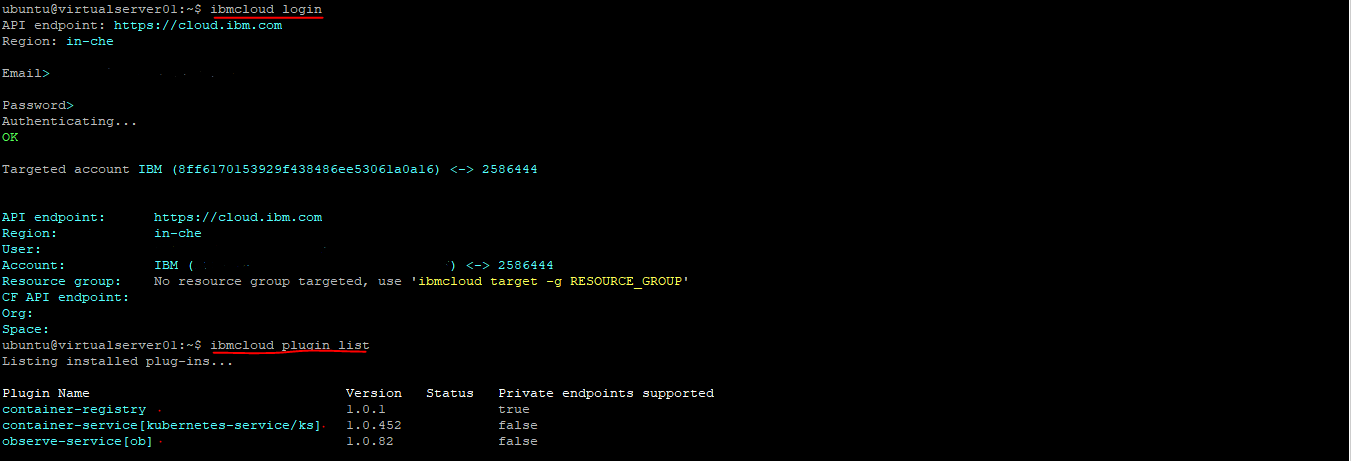
   $ ibmcloud login
   $ ibmcloud plugin list
Output
- For connection to the Kubernetes cluster, you will get a command in the Kubernetes cluster section (Kubernetes console) as below.
$ibmcloud ks cluster config --cluster ccql163t064kpvg5gg10
This step is showing during creation of Kubernetes Cluster.
- After running the second and third commands shown in the above images, you will get an output as below. You do not need to run the first command because you've already logged in to IBM Cloud.
Output

Now we are able to run commands of kubectl.
4. Verify the deployment
Make sure all the pods of Pulsar are running. Get the service URL and broker URL for publishing and consuming the messages.
Installation of Pulsar helm in minikube cluster this document is for minikube cluster we are taking reference from that.
- Add Pulsar chart repo
$ helm repo add apache https://pulsar.apache.org/charts
$ helm repo update
$ helm repo list
Output

- Clone the Pulsar Helm chart repository, go inside the pulsar-helm-chart directory
git clone https://github.com/apache/pulsar-helm-chart
cd pulsar-helm-chart
- Run the script
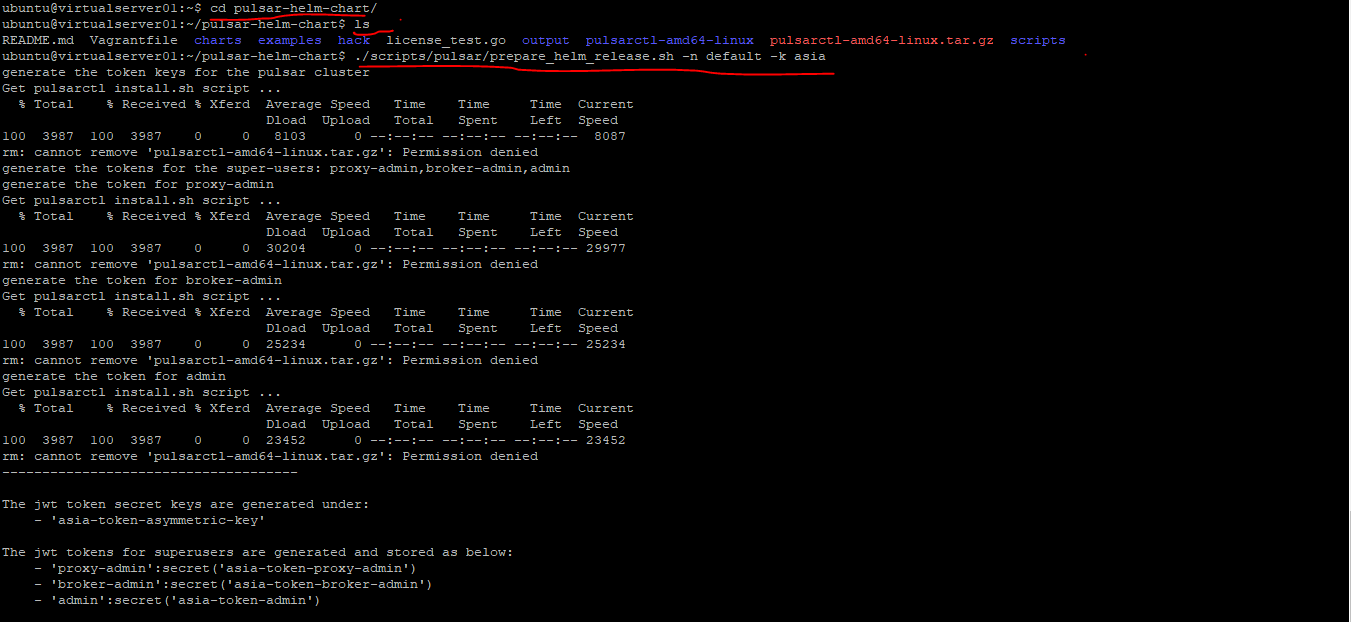
prepare_helm_release.shto create secrets required for installing the Apache Pulsar Helm chart. The usernamepulsarand passwordpulsarare used for logging into the Grafana dashboard and Pulsar Manager.
When running the script, you can use -n to specify the Kubernetes namespace where the Pulsar Helm chart is installed,-kto define the Pulsar Helm release name, and -c to create the Kubernetes namespace. For more information about the script, run ./scripts/pulsar/prepare_helm_release.sh --help.
./scripts/pulsar/prepare_helm_release.sh -n default -k asia -c
Output
- Use the Pulsar Helm chart to install a Pulsar cluster to Kubernetes.
helm install --values examples/values-minikube.yaml --set initialize=true asia apache/pulsar
You need to specify --set initialize=true when installing Pulsar the first time. This command installs and starts Apache Pulsar.
Output

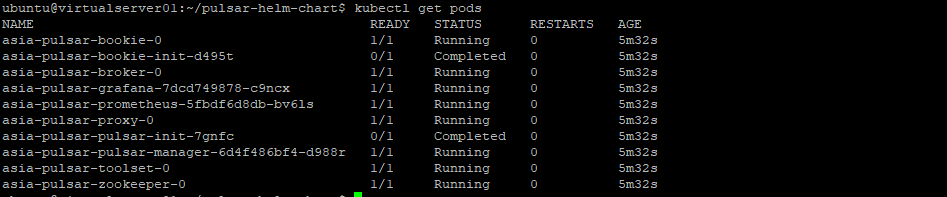
- Check the status of all pods.
kubectl get pods
If all pods start up successfully, you can see that STATUS is changed to Running or Completed.
Output
- Check the status of all services.
kubectl get services
Output

The output shows both services URL and broker URL.
Proxy external IPs are the ports changed just now:
- Service URL port is 80.
- Broker URL port is 6650. This is default. If you execute all the commands successfully, you can use the Pulsar client to connect to clusters and produce and consume messages through proxy external IPs.